To complete this guide you will need to be an Administrator on your Mac.
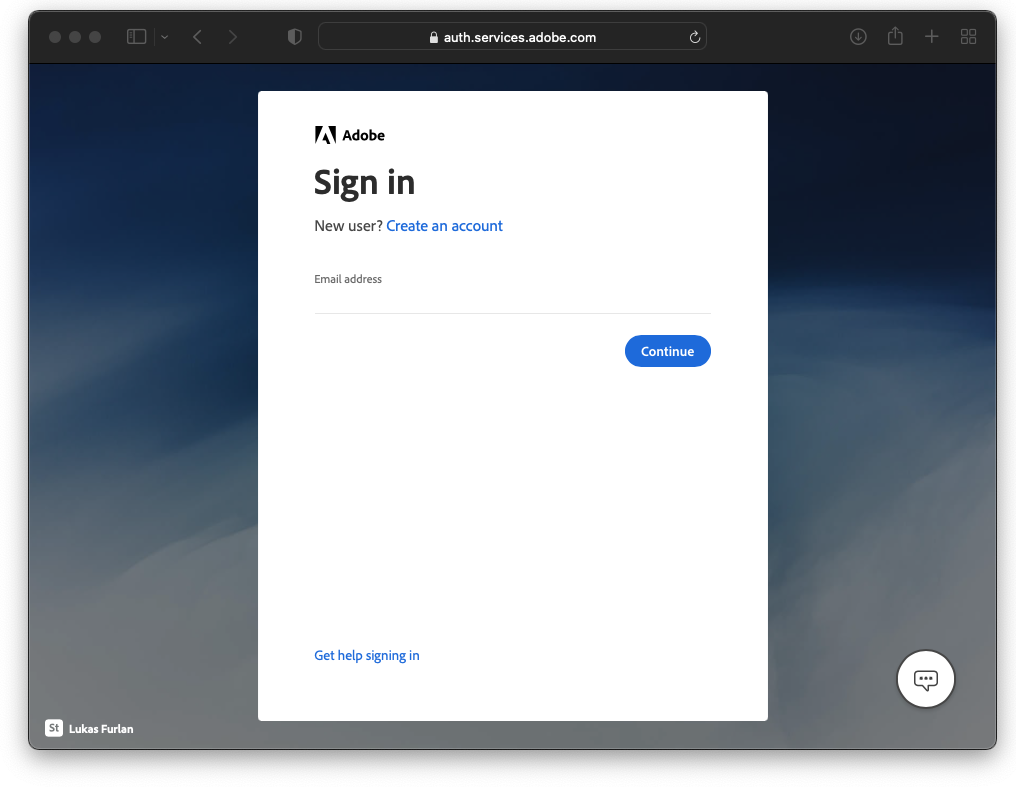
Step 2:
enter your student login details
(same as teams)
Click “Continue“
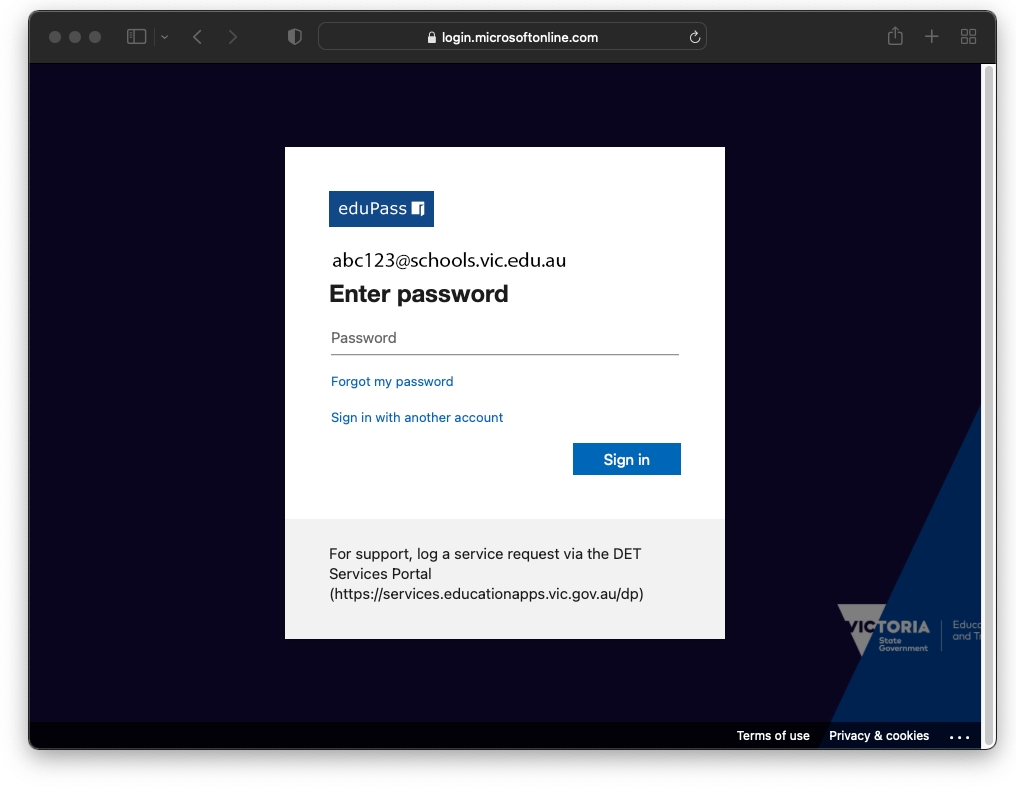
Step 3:
Enter your student password
Step 4:
Click “Yes” to stay signed in

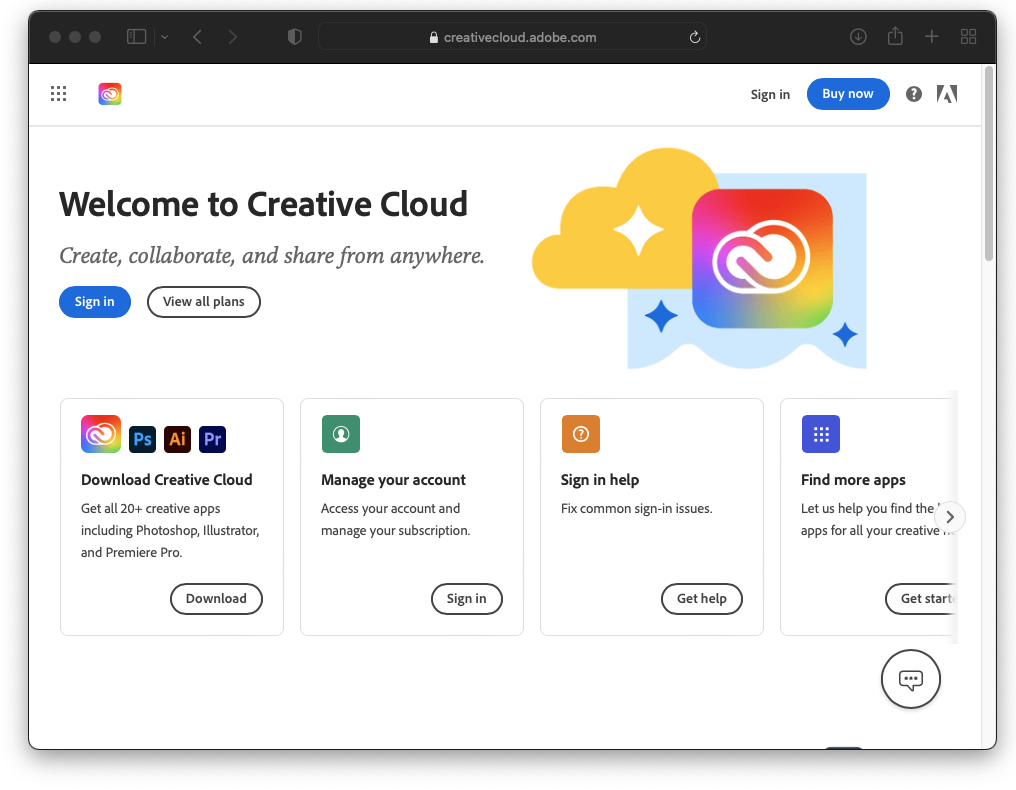
Step 5:
Click “Download” under “Creative Cloud“
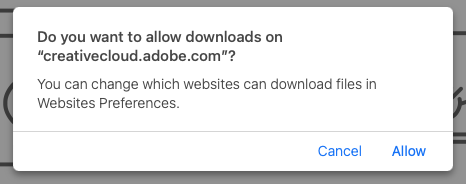
Step 6:
Adobe may request to allow downloads, Click “Allow” to continue
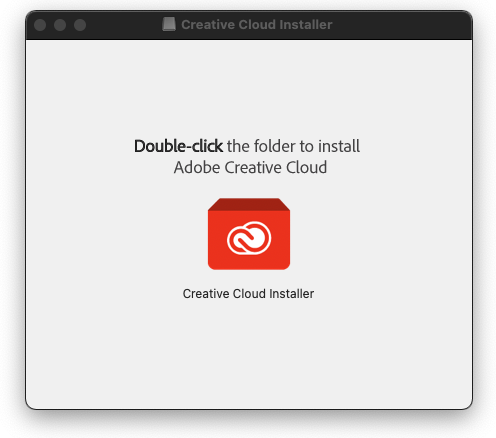
Step 7:
Select your downloads and double-click the “Creative Cloud Installer“

Step 8:
Double-Click the Creative Cloud Installer to begin installing
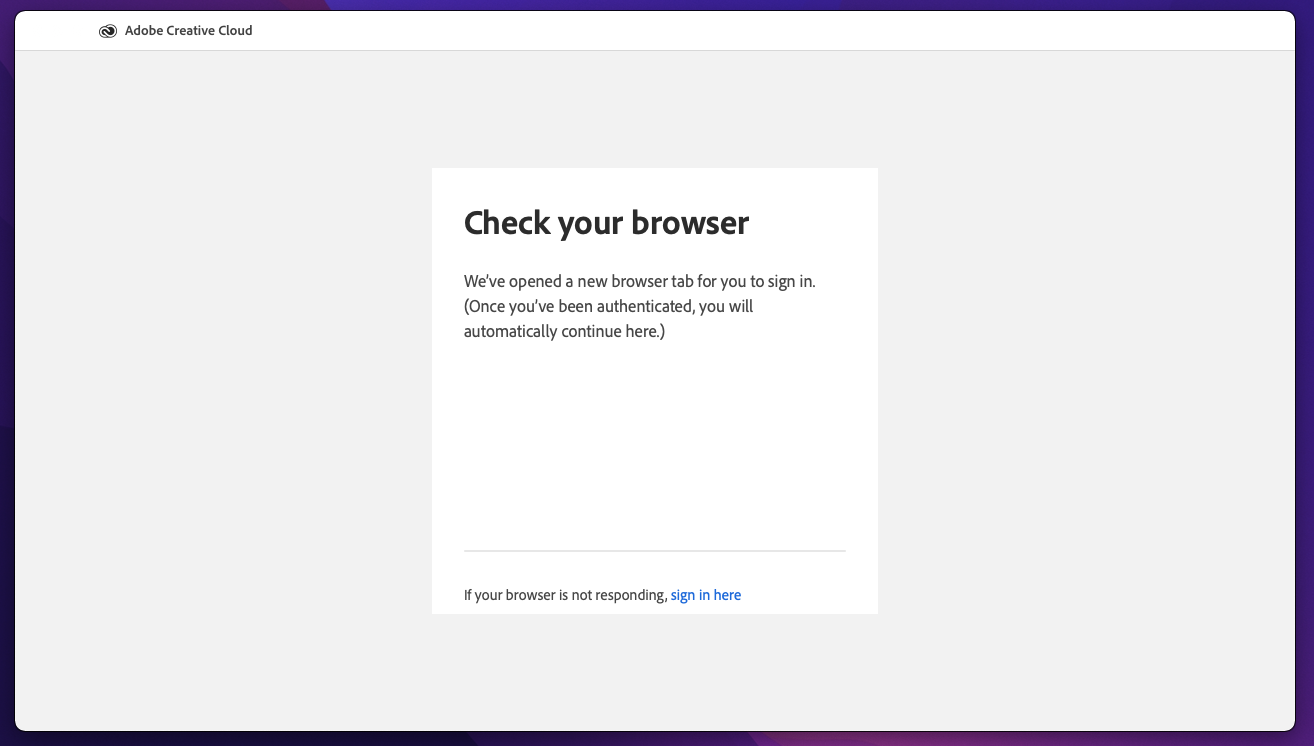
Step 9:
The Creative Cloud installer will now begin.
It will pop up a web browser asking to verify your login.
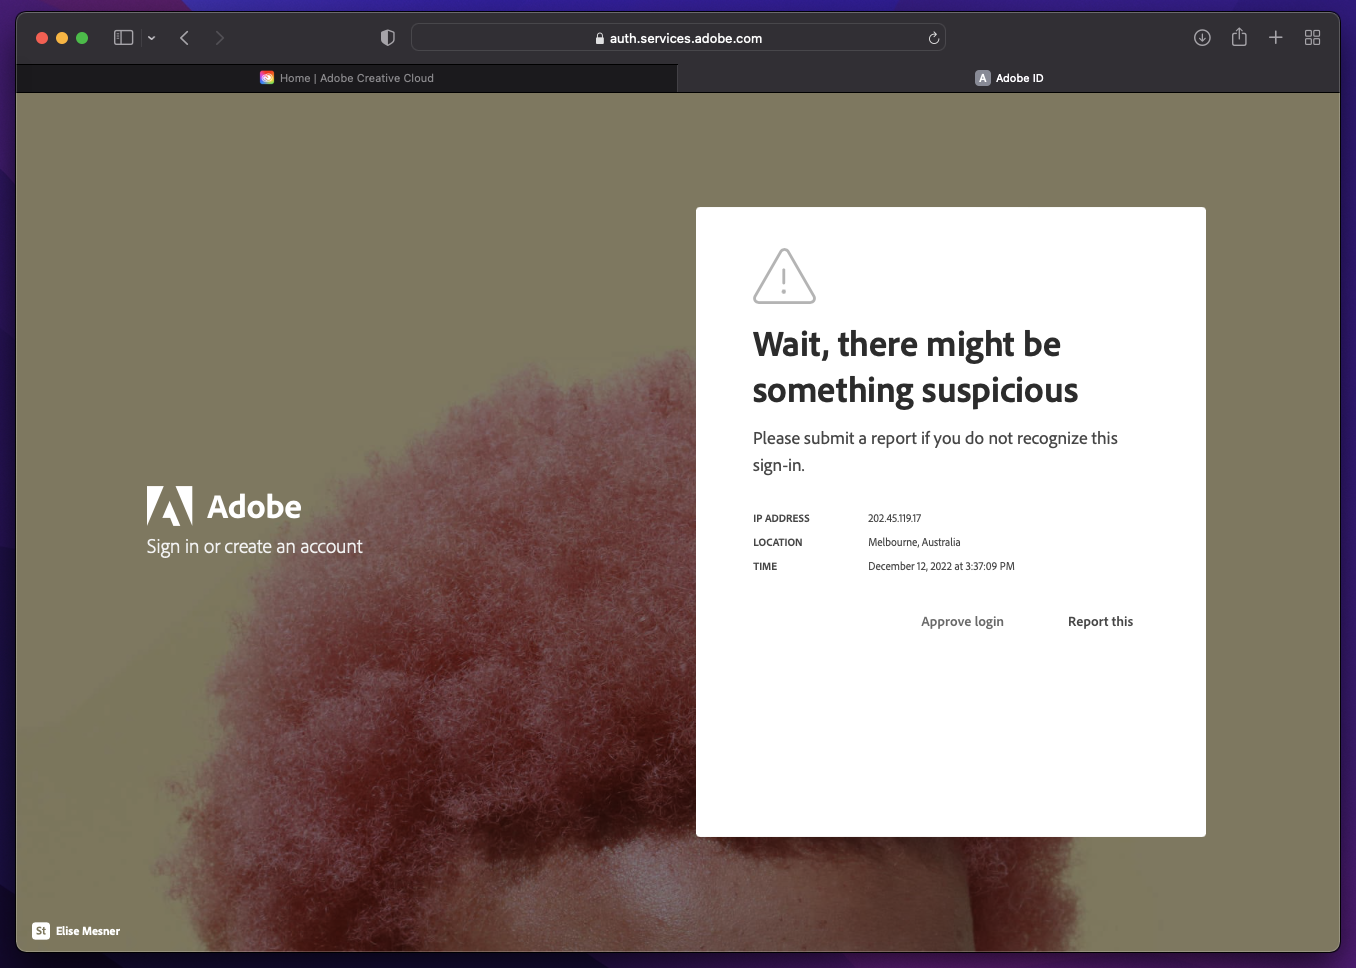
Step 10:
You might be asked to approve the login.
If you see this screen click
“Approve Login”
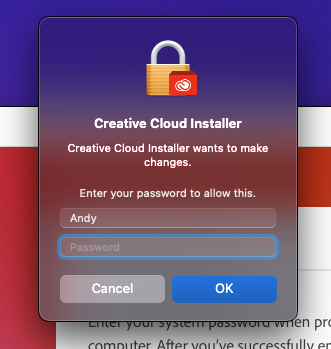
Step 11:
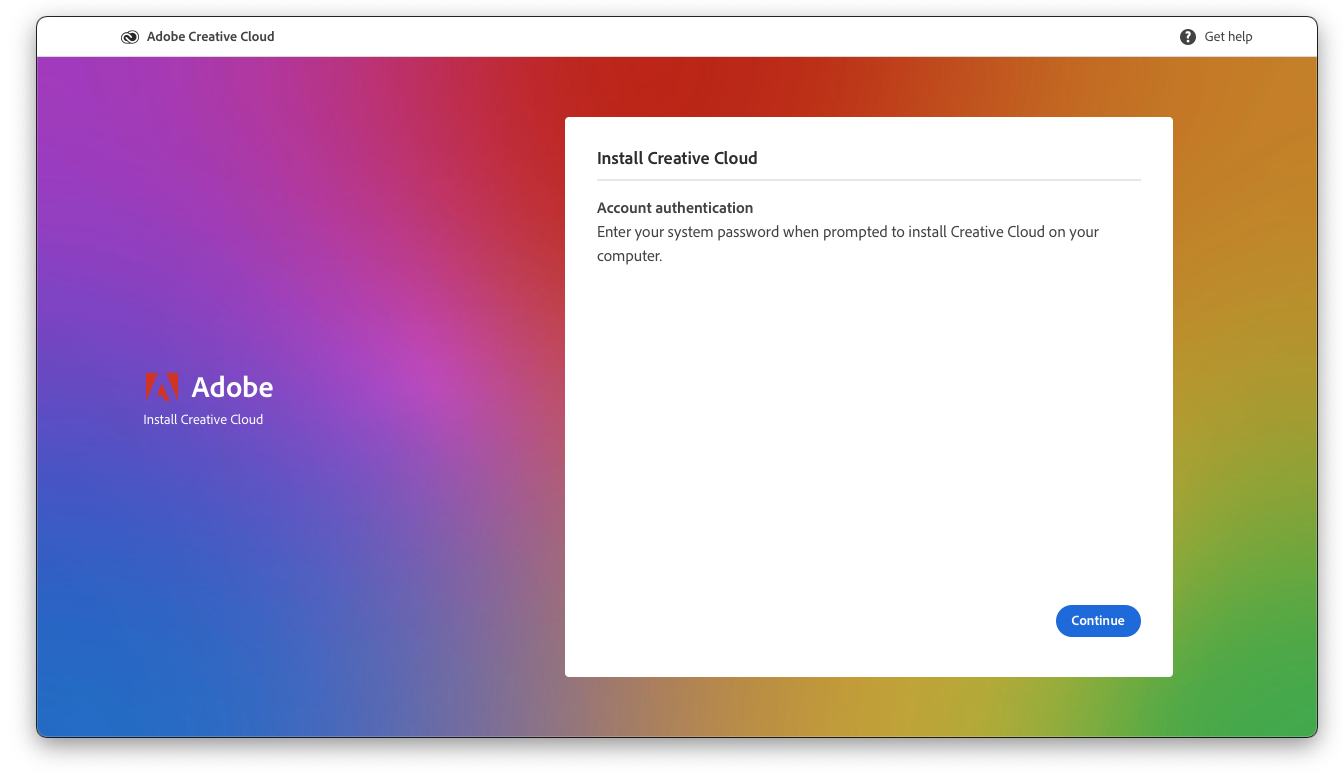
You may be required to enter your Mac Credentials to continue
(Mac sign in info)
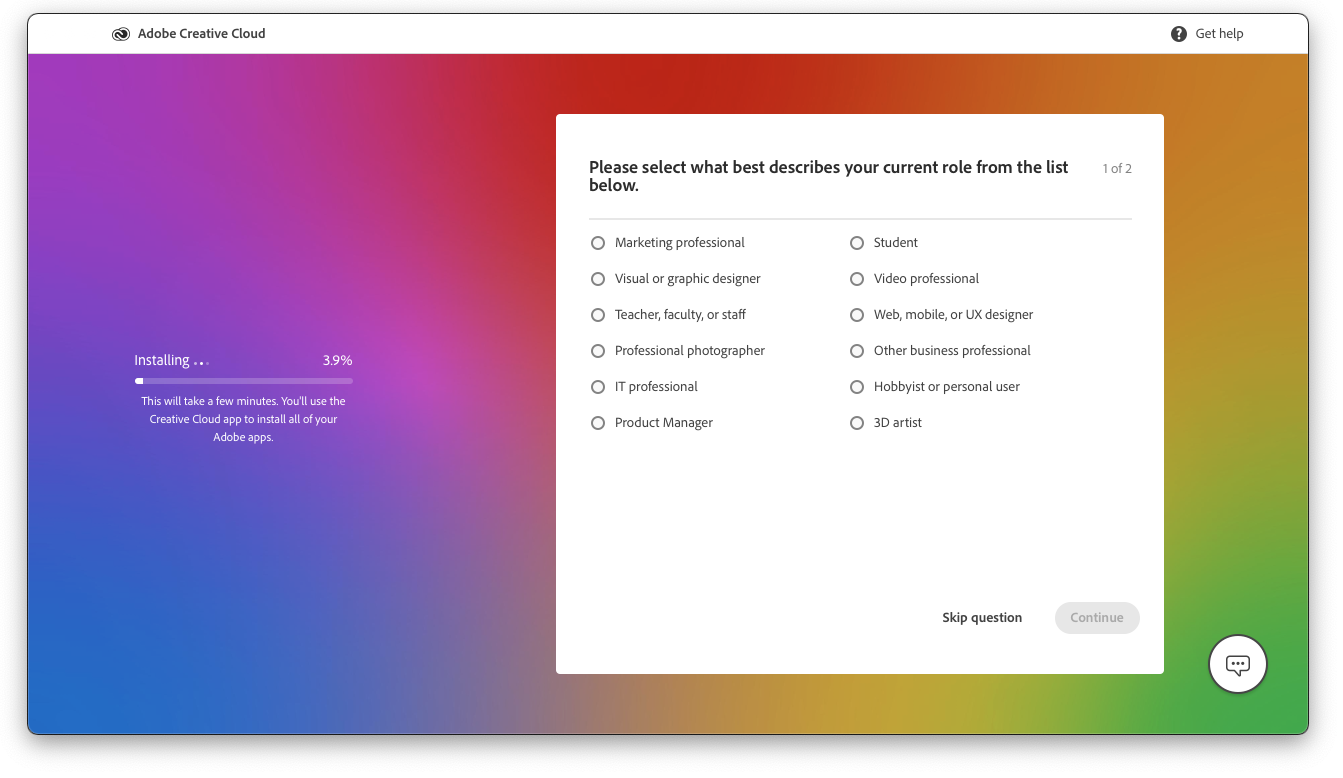
Step 12:
Wait for the installer to complete
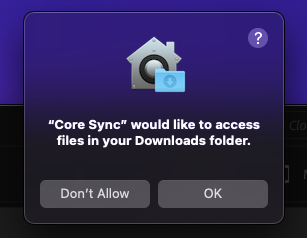
Step 13:
Adobe Creative Cloud may ask to allow access to some folders, click “OK” for each prompt
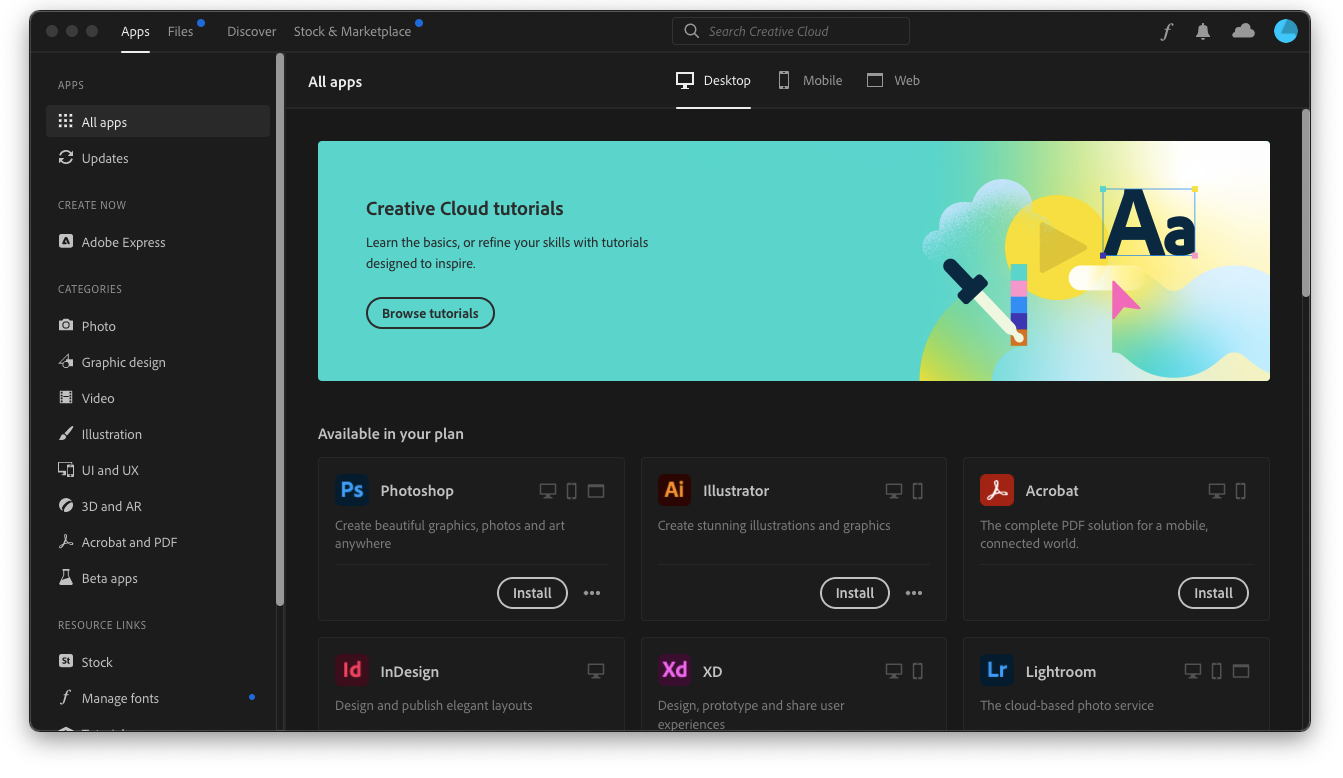
Step 14:
Click “Install” on any apps you wish to install.
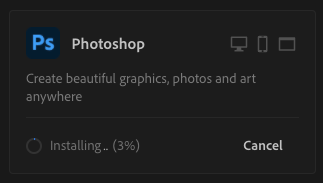
Step 15:
Wait for your application(s) to install
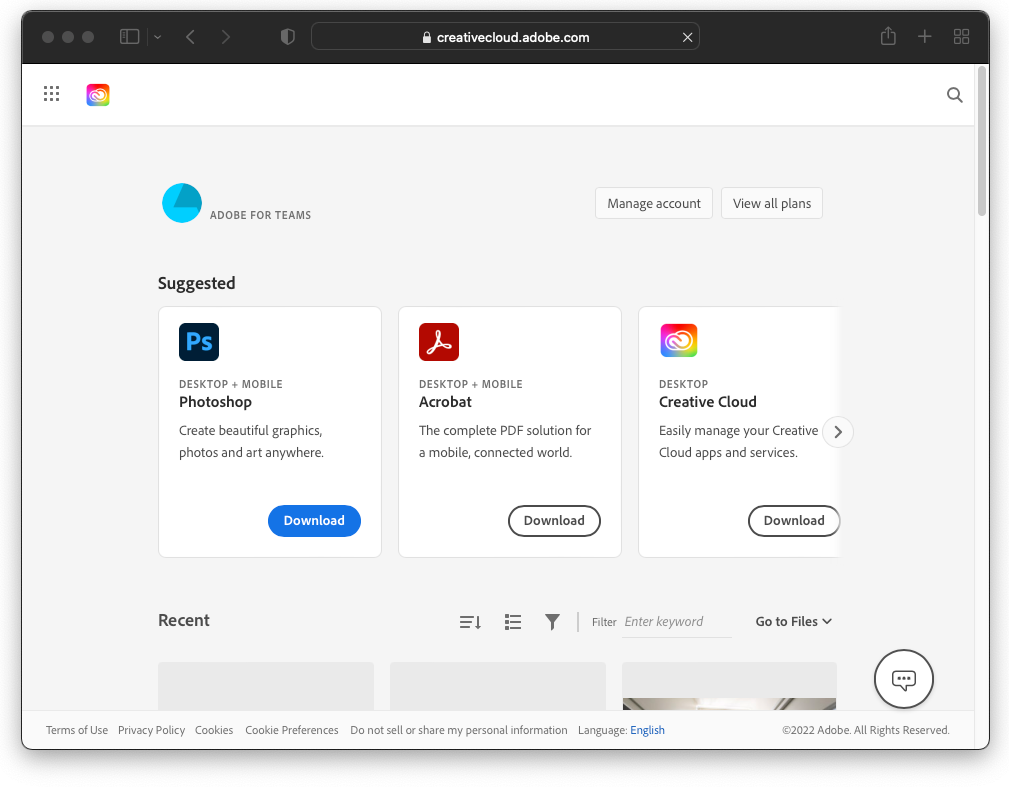
Adobe Creative Cloud and applications are now installed.
Well done!